Speech recognition
Using speech recognition, the agent can enable closed captions during a call.
Providers
Select one of the available providers. The only available provider right now is Google.
Upload the configuration file you have created at your Google Cloud platform. Read how to configure Google here.
Once you have uploaded your configuration you will be able to select one or more languages that will be used for speech recognition.
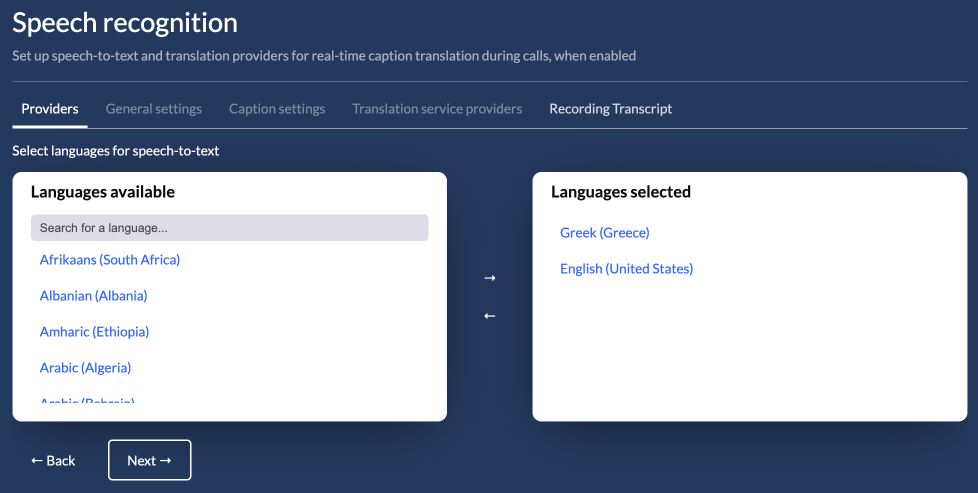
Select one or more languages from the left panel and use the right arrow (→) to add the languages as supported. The same way you can remove one or more languages, using the left arrow (←).
On the next screen you will be able to test the selected languages.
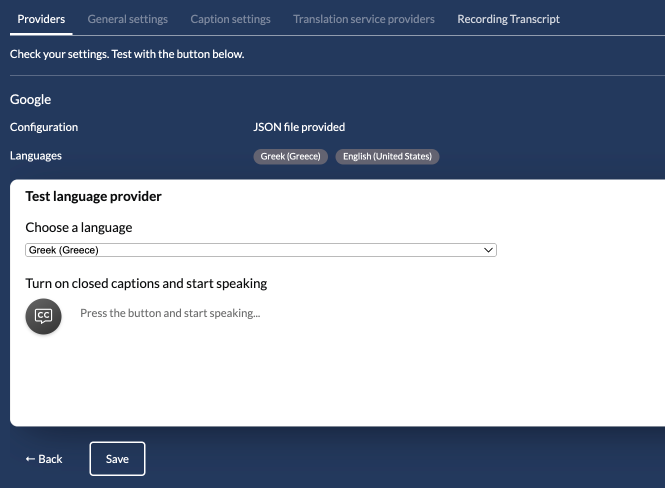
Select a language and click the CC button to start the service. Access to microphone will be requested. Grant it and start speaking. You should be able to see what you are saying in the panel on the right.
Click Save and you are all set up!
General options
Once you have configured your provider, you will have access to the General options and the Captions options.
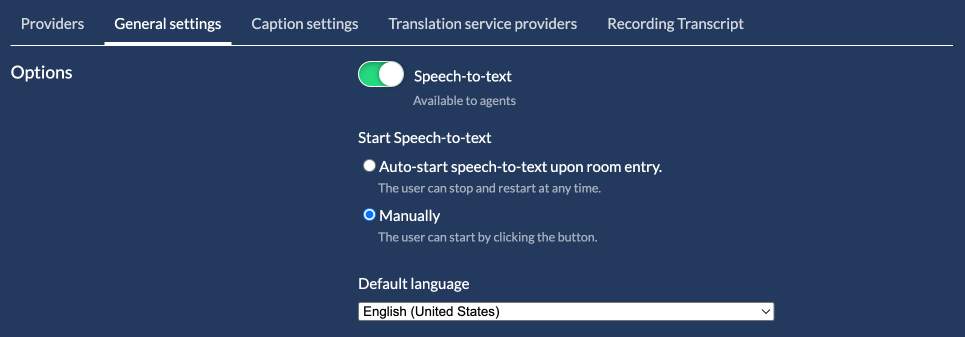
You can enable/disable the Speech recognition functionality. This is only provided to the agent as a button. The customer cannot enable Closed Captions.
You can also have the service start automatically, once the agent joins the call.
Finally you can set a default language. This language can be changed at any time, as long as the Speech recognition is not enabled during a call.
Captions options
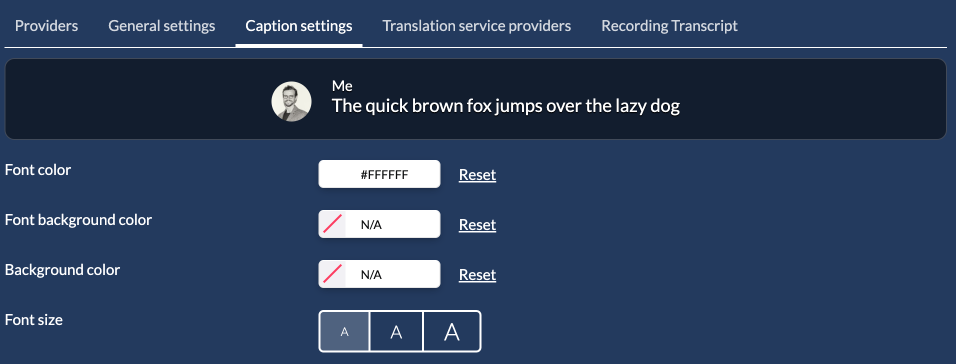
Here you can find options to theme the captions shown.
Choose colors for the font, the font background and the panel background. Finally you can enlarge the font size to medium and large sizes.
Translation providers
Once a speech recognition provider has been provisioned you can enable translations by provisioning one of the available providers. Read more on how to setup the providers here.
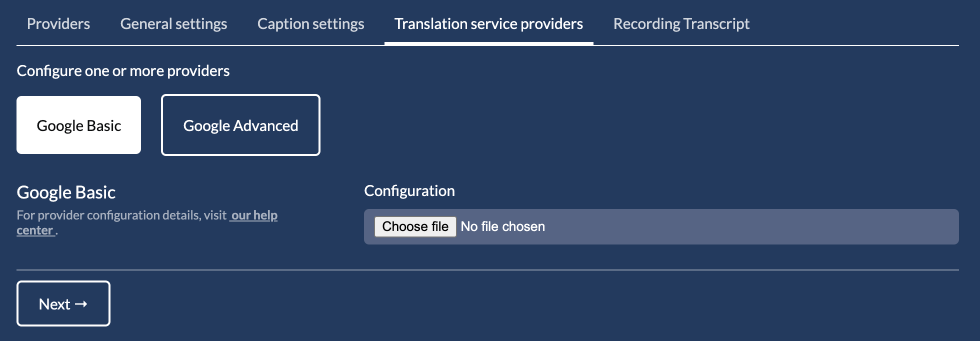
If you configure more than one providers, tha latest provider is used as the default.
Once the agent enables the Closed Captions feature, each participant will see a Globe with the available translations. If you want to support more translation languages you just have to provision more languages in the Providers tab.
How translation works
The way translation works is this.
Two participants can speak different languages in a call. The agent speaks English and the customer Spanish. If the agent enables Closed Captions in English (his native language), the customer will also see the closed captions panel. The customer just has to choose Spanish from the available translation languages and he now can speak and read the agent's captions in Spanish. The agent will read the customer's captions in English.
As you can see, this is not just a simple translation of the captions. It is a speech recognition in Spanish and translation in English for the agent and vise versa for the customer.
